 Save
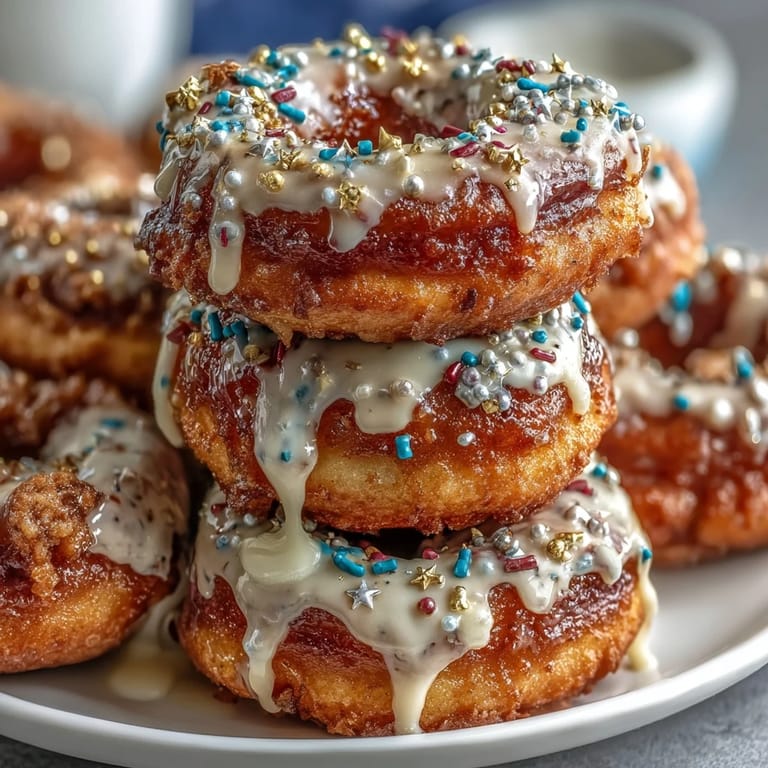
Save When someone suggested a donut tower for my cousin's graduation party, my kitchen suddenly smelled like Saturday morning at the bakery. I didn’t expect how stacking the donuts would turn into such a playful, slightly sticky affair. The colorful sprinkles got everywhere, and we couldn’t help but laugh as we tried to keep our fingers out of the icing. There’s something about building a dessert centerpiece by hand that turns prepping for a party into part of the celebration itself. I still grin thinking about the almost conspiratorial fun of sneaking a donut before the guests arrived.
One year, we built the donut tower with my niece, who insisted every single donut needed its own ‘graduation hat’ topper. We listened to her playlist and talked about the sweetest moments of the school year as we layered, giggling when a donut would topple until we found just the right angle. That tower became the most photographed spot of the afternoon, second only to the new grad herself.
Ingredients
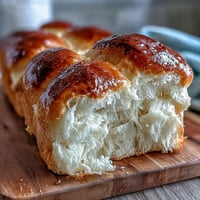
- Mini glazed donuts (36): The foundation of your tower—use freshly made or high quality store-bought; slightly firmer donuts hold best when stacked.
- Powdered sugar (2 cups): Whips up the perfect icing for extra shine and sticky power.
- Milk (3–4 tbsp): Start with less, adding more as needed for a smooth, pourable icing.
- Vanilla extract (1 tsp): A splash lifts the icing and makes everything smell bakery-fresh.
- Assorted colorful sprinkles (1/2 cup): More is more—a mix of shapes and colors makes the tower party-ready.
- Edible gold stars (optional): These add a sparkle that says ‘special occasion’ even in photos.
- Graduation-themed toothpick toppers (optional): Little hats and diplomas instantly transform dessert into décor.
- Styrofoam or cone-shaped cake form (about 12 inches): Gives your tower height and stability.
- Wooden skewers or toothpicks: Essential for anchoring each donut as you build from the bottom up.
Tired of Takeout? 🥡
Get 10 meals you can make faster than delivery arrives. Seriously.
One email. No spam. Unsubscribe anytime.
Instructions
- Prep your base:
- Place the styrofoam cone firmly on a pretty platter or stand to stay steady while you work.
- Make the icing magic:
- In a mixing bowl, whisk powdered sugar, milk, and vanilla until a luscious glaze forms—add milk drop by drop for just-right consistency.
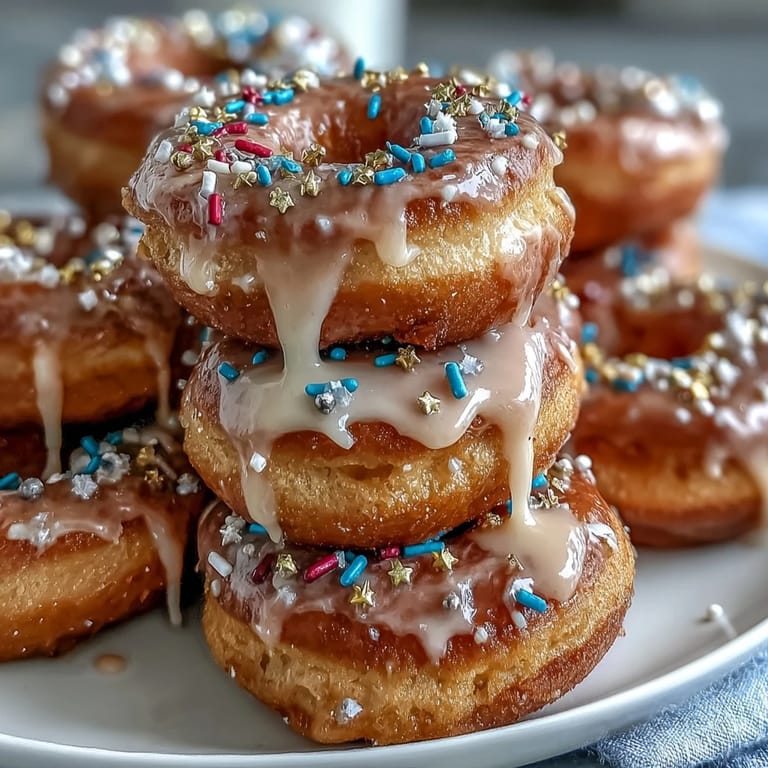
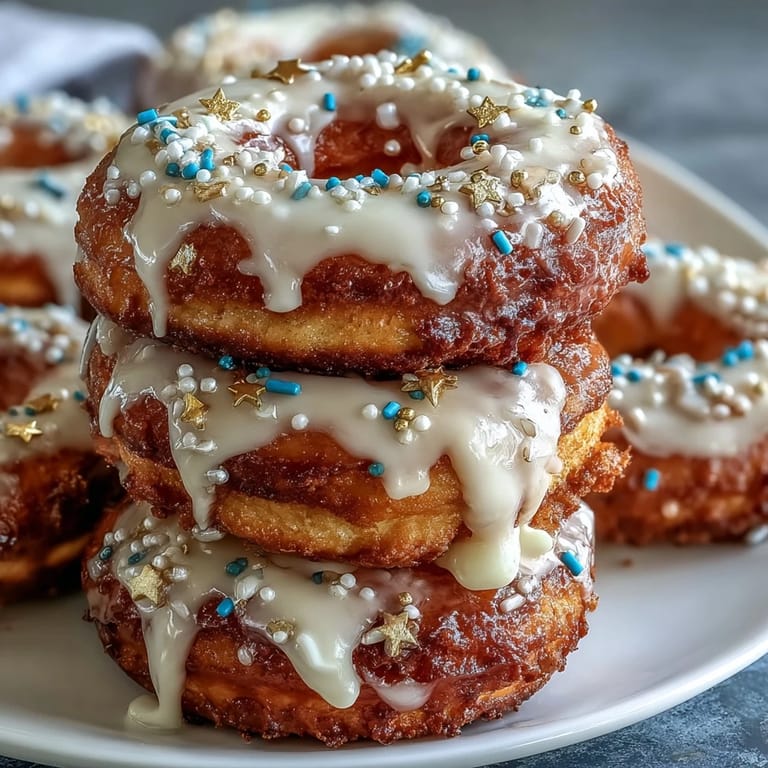
- Dip and sprinkle:
- Swirl the tops of each donut in icing, letting the excess happily drip away, then shower immediately with sprinkles before the icing sets.
- Let dry (but not too long):
- Rest donuts until icing firms, about 15 minutes—it’s the perfect time to taste test.
- Anchor your first layer:
- Starting at the cone’s base, gently push skewers halfway into form and nestle donuts snugly against each other.
- Build upward in spirals:
- Stack donuts above the first row, overlapping slightly, and use skewers as needed—expect a bit of sweet juggling here and there.
- Fill the gaps and decorate:
- Tuck in any gaps with extra donuts; scatter more sprinkles or edible stars as the mood strikes.
- Finish and present:
- Crown the very top with a graduation topper, and set your finished tower front and center for all to admire.
 Save
Save  Save
Save When the grad made the first ‘official’ donut pull from the tower, there was a round of applause and a quick scramble to grab the most sprinkle-laden bites. Suddenly the dessert was everyone’s icebreaker, making old friends and new ones share a sweet moment together.
Choosing the Best Donuts
After experimenting, I’ve found that cake-style minis support the most weight but yeast-raised ones are unbeatable for that light, fluffy bite. Sometimes I mix them both in the same tower and listen as guests compare their favorites over coffee.
Easy Ways to Customize Your Tower
We once swapped in maple bars and chocolate rounds for an extra pop of flavor, surprising even longtime donut fans. Graduation colors in your sprinkle mix always get a cheer—and the edible stars were such a hit that now they’re a must for every party.
Handling Leftovers and Making Ahead
If your party winds down with a few untouched donuts, I wrap them up for the grad to enjoy the next morning—no one complains about donut breakfast. The tower is best made a few hours ahead so the icing sets, but more than that and the donuts start to lose their bounce.
- Don’t refrigerate, or the donuts will get tough.
- If you have extra icing, drizzle it on cake scraps or toast.
- Your most important tool is a sturdy platter—trust me on this.
 Save
Save  Save
Save Even the cleanup is made sweeter by watching everyone take a donut—and a memory—with them. This tower never fails to make the celebration just a little more special.
Recipe FAQ
- → How do I keep the donuts from sliding on the cone?
Use wooden skewers or toothpicks to anchor each donut into the cone and slightly overlap layers so the weight is distributed. Press gently to avoid squashing glazes and test stability as you build upward.
- → What consistency should the icing be for dipping?
Mix powdered sugar with 3-4 tbsp milk until smooth and thick but pourable so it coats the tops without running off. Add milk a little at a time to reach a glossy, holdable glaze that sets in about 15 minutes.
- → Can I use filled or chocolate mini donuts?
Yes—mix flavors and textures for visual and taste variety. Reserve filled donuts for upper layers or edges where piercing won't spill fillings, and consider sturdier chocolate minis for lower tiers.
- → How far ahead can I assemble the tower?
Assemble shortly before serving for best texture—up to two hours at room temperature. If you need more lead time, build the tower and store covered in a cool, dry place, but avoid refrigeration which can soften glazes.
- → What are good transport tips for the finished tower?
Place the tower on a flat, non-slip platter and support the base during transport. Drive on a level surface, secure the platter to prevent sliding, and add toppers after arrival to avoid damage.
- → Any allergy or dietary swaps suggested?
Substitute gluten-free mini donuts for guests with sensitivities and check sprinkles for shared equipment warnings. Use dairy-free milk in the glaze if needed and label allergens for guests.