 Save
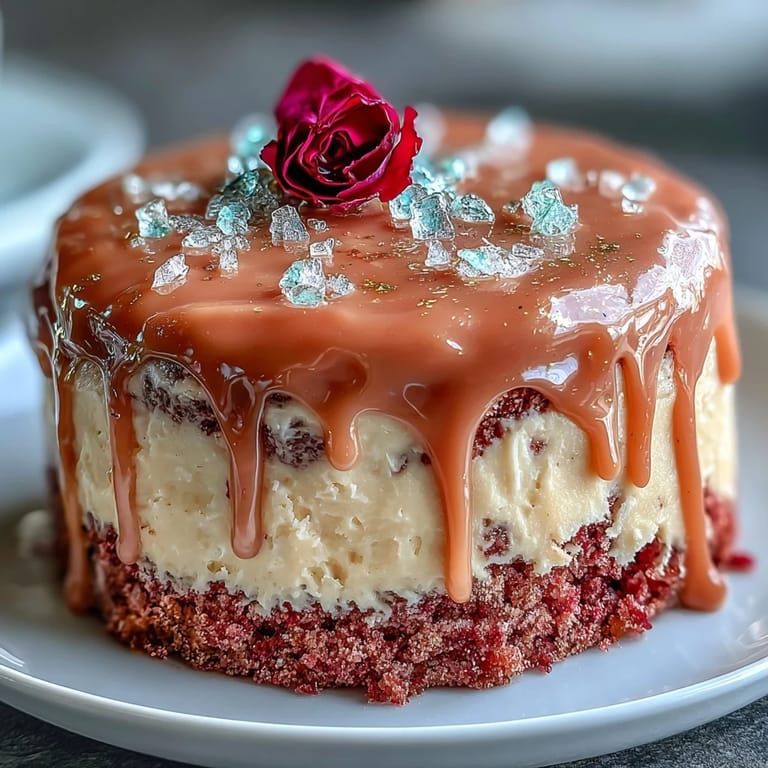
Save The scent of rosé in the air always reminds me of that moment when a kitchen transforms from a place of routine to one brimming with creativity. The first time I swirled pink gel food coloring into a velvety cake batter, it felt a little rebellious—a grown-up twist on classic childhood cake, with giggles along the way. Not every celebration needs to be formal, but this bridal shower cake, finished with shimmering gold drips, has a knack for adding undeniable sparkle to the room. I’ll admit, I was apprehensive about gold luster dust, but one swipe with a tiny brush and the cake somehow felt dressed for an occasion. There’s a quiet magic in seeing simple ingredients uplifted for a sparkling moment shared with friends.
The last time I made this cake was for my friend’s bridal shower, and the kitchen was a flurry of laughter, flower petals, and near-misses with flour clouds. My niece perched precariously on a stool, eager to help, while I nervously piped the final layer of buttercream. When we painted the gold drips together, our hands trembled more from anticipation than from inexperience, making the finished cake feel all the more ours. That moment, crowded around the finished cake, phones snapping and forks at the ready, had an energy that still lingers every time I bake it again.
Ingredients
- All-purpose flour: Sifting the flour adds to the cake’s signature light texture—don’t skip this step, even if tempted.
- Granulated sugar: Essential for sweetness, and creaming it well into the batter is key for even rise.
- Baking soda: Lends that delicate springy airiness; double check it’s fresh for best lift.
- Fine salt: Just a pinch sharpens every flavor and balances out the sweetness.
- Unsweetened cocoa powder: Only a tablespoon, but it deepens the pink without tasting “chocolatey.”
- Vegetable oil: Keeps the cake extra moist and tender, even after refrigeration.
- Large eggs: Room temperature eggs blend better, leading to a silkier crumb—take the chill off early.
- Buttermilk: The tang is subtle, but it creates the classic velvet crumb and harmonizes with the rosé.
- Rosé wine: Choose a dry or sparkling rosé; avoid too sweet as it can overpower the cake.
- Vanilla extract: That warm vanilla note travels through every bite, so go for real extract if possible.
- White vinegar: Reacts with baking soda and buttermilk for ultimate velvet texture; don’t worry, the taste disappears.
- Pink or rose gel food coloring: Adds color without thinning the batter—use gel rather than liquid drops.
- Unsalted butter: Softened butter makes for a super creamy, easy-to-spread buttercream.
- Powdered sugar: Sifted for lump-free frosting; patience here pays off in smoothness.
- Heavy cream: Helps the white chocolate drip flow—the richness is subtle but essential.
- White chocolate chips: Melts best when stirred gently and not overheated.
- Edible gold luster dust: Confirm it’s food-grade; it makes every drip twinkle.
- Vodka or clear lemon extract: A splash turns dust into gold “paint” that dries fast and shines bright.
Tired of Takeout? 🥡
Get 10 meals you can make faster than delivery arrives. Seriously.
One email. No spam. Unsubscribe anytime.
Instructions
- Get Ready to Bake:
- Preheat the oven to 350°F (175°C), line three 8-inch cake pans with parchment, and lightly grease all edges so nothing sticks behind.
- Mingle Your Dry Ingredients:
- Whisk together the flour, sugar, baking soda, salt, and cocoa powder until evenly combined with not a single lump in sight.
- Whisk Up the Wet:
- In a separate bowl, blend the oil, eggs, buttermilk, rosé, vanilla, and vinegar; pause to inhale the gentle wine aroma, promising something special.
- Make Your Pink Batter:
- Pour the wet mixture into the dry and stir until just combined; swirl in gel food coloring until the shade says ‘celebration.’
- Bake With Confidence:
- Divide batter equally among pans and bake for 30-35 minutes, until a toothpick comes out clean and tops gently spring back at your touch.
- Let Them Cool:
- Cool the cakes in-pan for 10 minutes, then flip onto a rack to finish cooling, resisting the urge to frost too soon.
- Whip Your Buttercream:
- Beat butter until creamy and pale, then gradually add powdered sugar so the frosting stays light and fluffy, not dense.
- Add Rosé and Fluff:
- Beat in rosé wine, vanilla, and a pinch of salt; sample a spoonful to check for the perfect hint of wine and adjust for frostability.
- Layer and Coat:
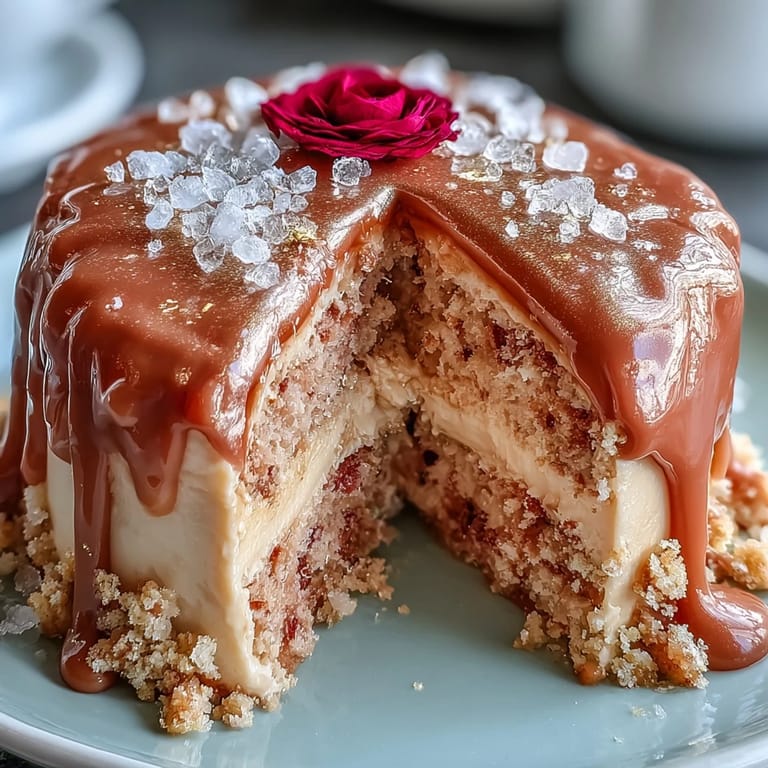
- Level cakes if needed, spread buttercream between layers, and apply a crumb coat before chilling for 20 minutes—this keeps crumbs in check for a flawless finish.
- Final Buttercream Sweep:
- Apply the final layer of buttercream, smoothing with an offset spatula for those show-off edges.
- Create the Gold Drip:
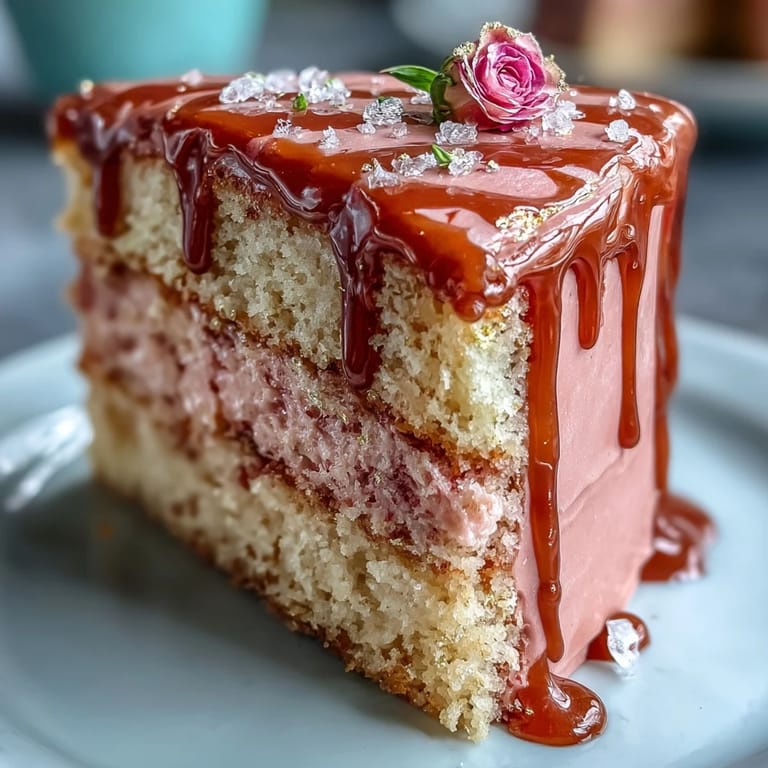
- Melt white chocolate chips with cream until silky, let it cool slightly, then drip it over the cake’s edge; paint once set with your golden elixir for shimmer.
- Add the Finishing Touches:
- Scatter additional gold, rose petals, or fresh berries if you’re feeling extra festive—each adds its own sparkle.
 Save
Save 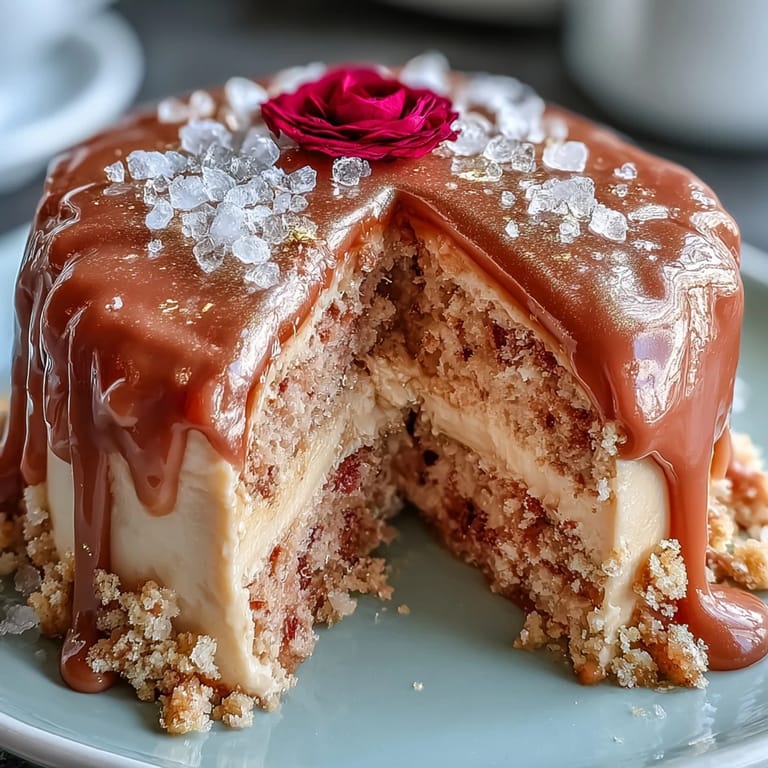 Save
Save During the shower, as everyone circled the table, someone quietly confessed they’d never seen such a cake up close. Watching the room hush as the first slice was lifted—gold edges shimmering under fairy lights—felt surprisingly emotional. A cake became both centerpiece and memory all at once.
Working with Edible Gold—Less Is More
The first time I worked with edible gold luster dust, I used far too much and learned that a small amount creates a more delicate, fairy-tale finish. Use a thin brush, let the chocolate drip set, and layer the gold in gentle sweeps rather than one heavy-handed coat. If you’re nervous, do a test swatch on a hidden side or extra drip. It’s less about perfection and more about gleam and playfulness.
How to Achieve Rosé Flavor Without Overpowering
After testing a few bottles, I learned that drier rosé gives a subtle, sophisticated note—anything too sweet can make the cake taste artificial. For buttercream, start with the lower end of rosé and increase to taste; a little at a time lets you control the balance. If you don’t want to use wine, a splash of rosewater and milk can mimic the vibe, though it won’t have that delicate wine bouquet.
Cake-Layering Hacks for a Clean Presentation
Leveling cakes used to terrify me but a long serrated knife and a slow turntable changed everything. Even layers mean even frosting, and a chilled crumb coat stops rogue crumbs from sneaking into your finish. If your layers start to slide, a quick chill sets everything beautifully.
- Warm offset spatulas make smoothing buttercream much easier.
- Pop cakes in the freezer for 10 minutes if you’re short on time before decorating.
- Keep extra buttercream in a piping bag for on-the-fly touch-ups.
 Save
Save  Save
Save However you choose to decorate, this Rosé Velvet Cake is guaranteed to make an occasion shimmer and glow. I hope it adds as much sparkle to your gathering as it has to mine.
Recipe FAQ
- → Can I use sparkling rosé in the batter and buttercream?
Yes. A dry or sparkling rosé adds bright, floral notes; use sparingly to avoid thinning the batter or buttercream. If the buttercream loosens, chill briefly or add a bit more sifted sugar to firm up the texture.
- → How do I prevent the gold drip from running too far down the sides?
Cool the white chocolate drip until slightly thickened before applying and work on a well-chilled cake. Apply small amounts at the edge first to test the flow, then add more. A thicker consistency will hold drips closer to the edge.
- → What’s the best way to get an even pink hue throughout the cake?
Use gel or concentrated color and add it to the wet ingredients until you reach the desired shade. Mix gently to avoid overworking the batter, which can affect rise and texture.
- → How do I make a stable rosé buttercream for filling and coating?
Beat room-temperature butter until light, add sifted powdered sugar gradually, then fold in rosé and vanilla. If the buttercream becomes too soft, chill briefly or add more powdered sugar to reach the right piping or spreading consistency.
- → Can I substitute the white chocolate in the drip?
Use high-quality white chocolate or couverture for a smooth glossy drip; some white chocolate chips contain stabilizers that affect melt. If using alternatives like candy melts, adjust cream to reach a smooth pourable texture.
- → How should the finished cake be stored before serving?
Refrigerate the decorated cake if not serving immediately. For best texture and flavor, bring it to room temperature for 30–60 minutes before serving. Keep covered to prevent drying and avoid non-edible metallics on decorations.